I’ve just come back from six days hiking the GR20 trail in Corsica. It was an absolutely amazing experience and one that I would love to do again. The stretch we did was a slightly unconventional variant of the northern section, hiked from south to north, but many of the comments I will make below would apply equally well to the conventional route and the usual direction of north to south. Over the next few days I’ll print a full day-by-day report so you can know what to expect if you do the trail, but here are a few initial pointers and observations on the GR20.
How tough is the GR20 Corsica?
This is without any doubt whatsoever the toughest marked trail I have ever done. I have done individually tougher days or sections on previous hikes and expeditions (summit day on my attempt at Mt Mera in Nepal, for instance, was the toughest day I have ever had) but I have never had so many consistently tough days, one after the other.
Why is the GR20 so tough? A few reasons, that I lay out below
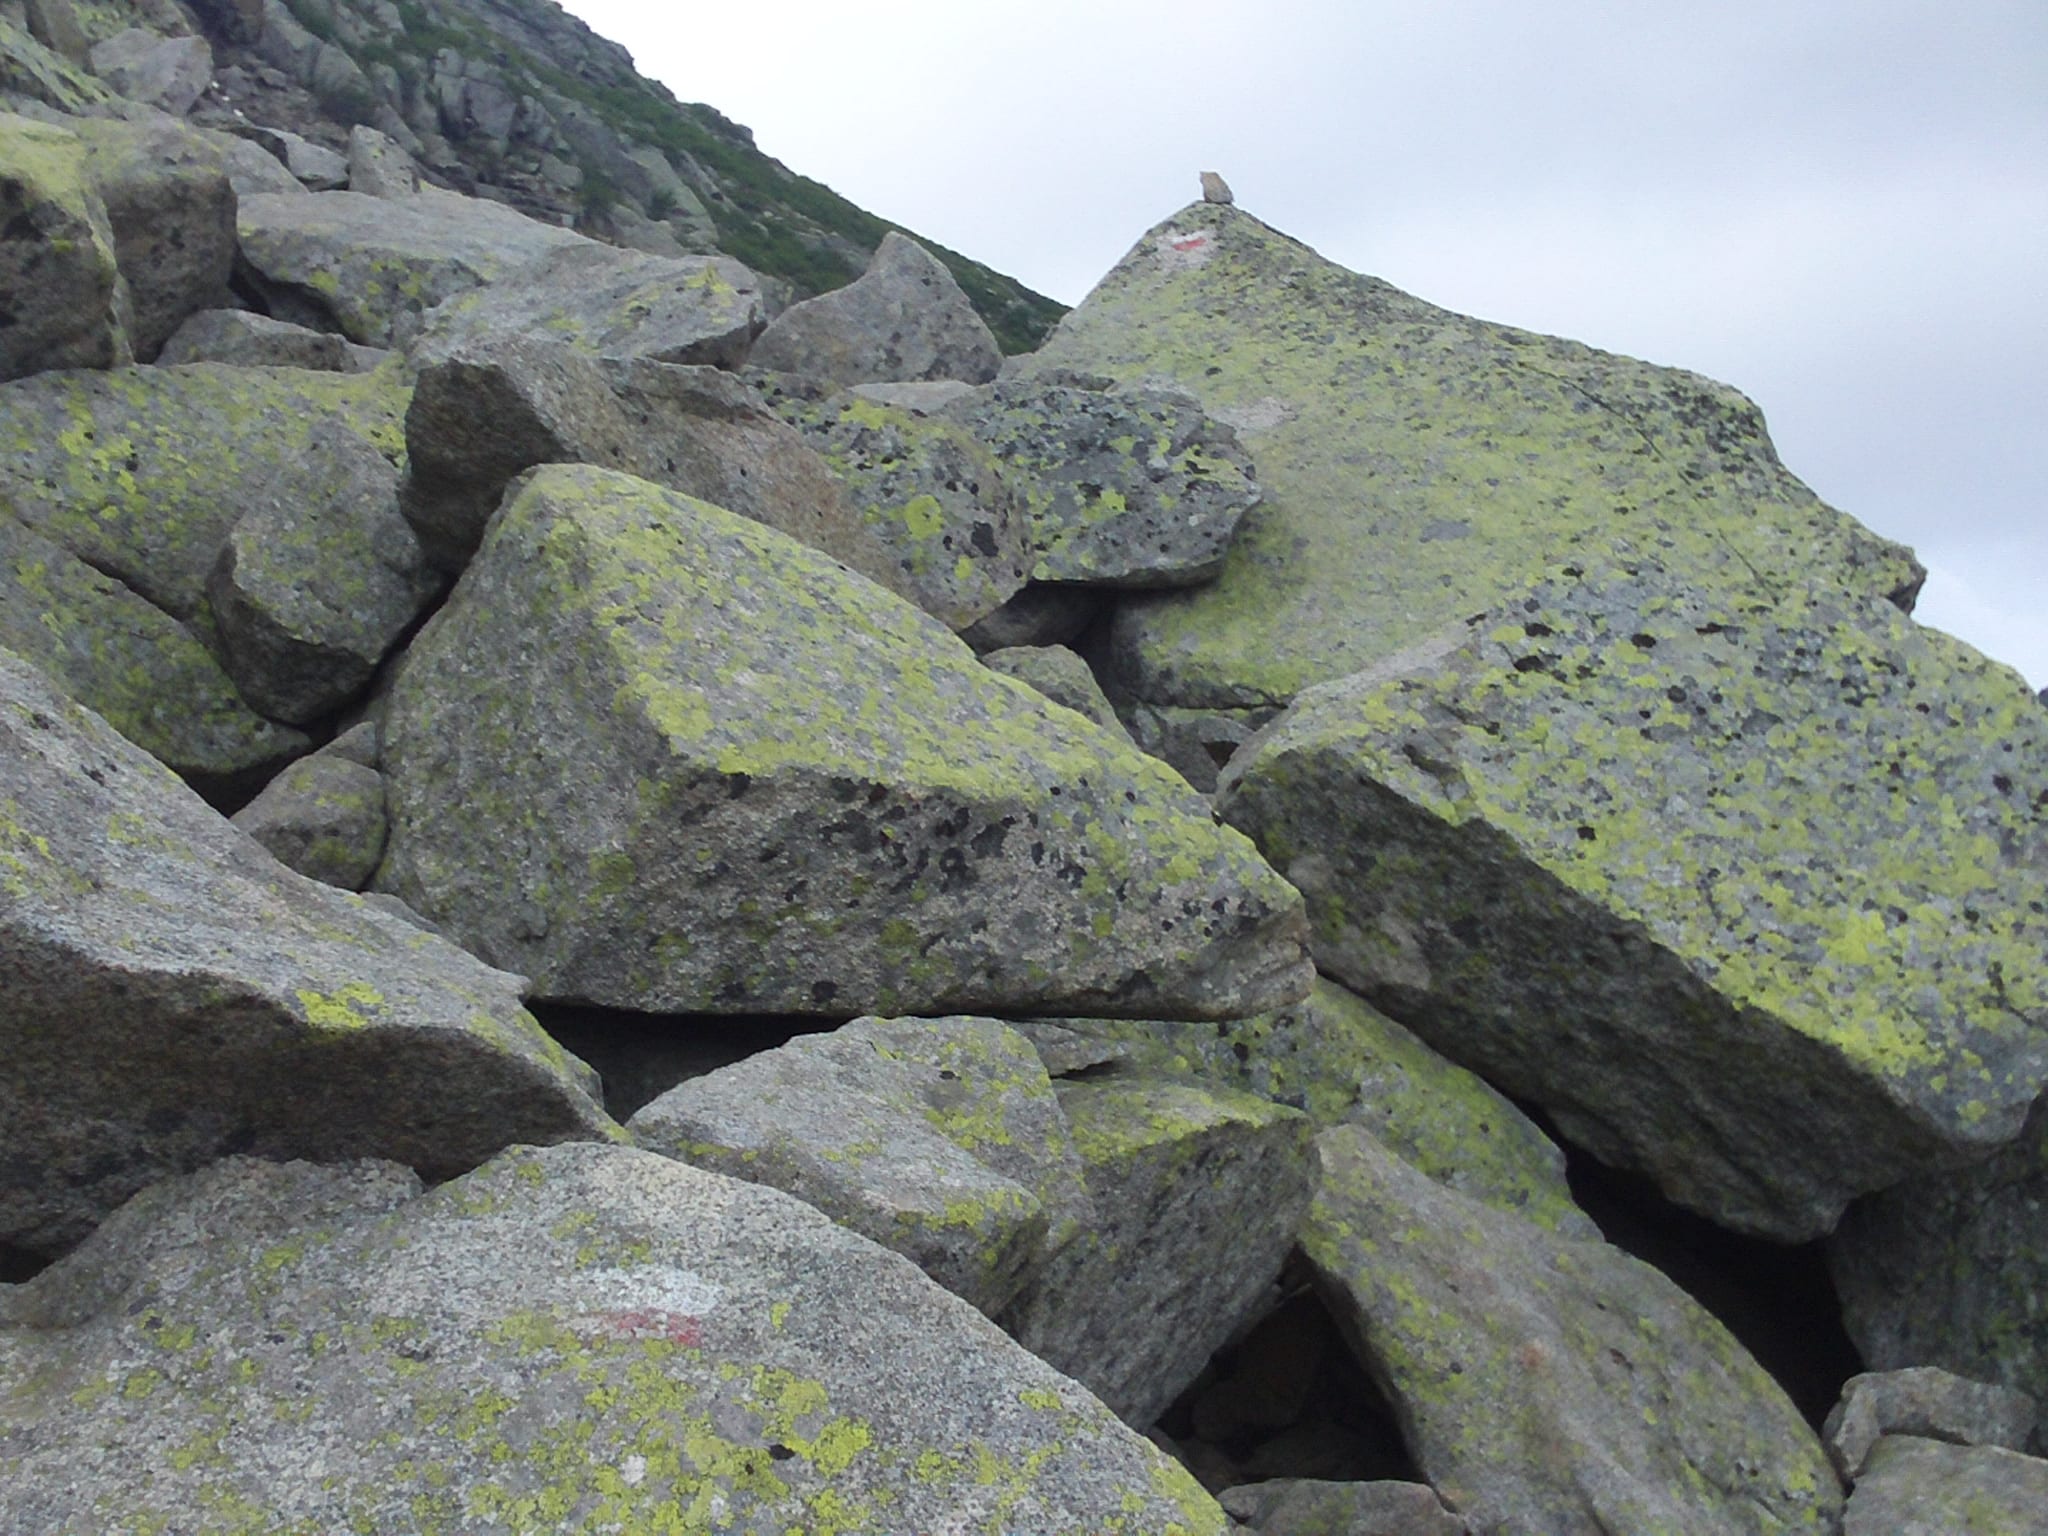
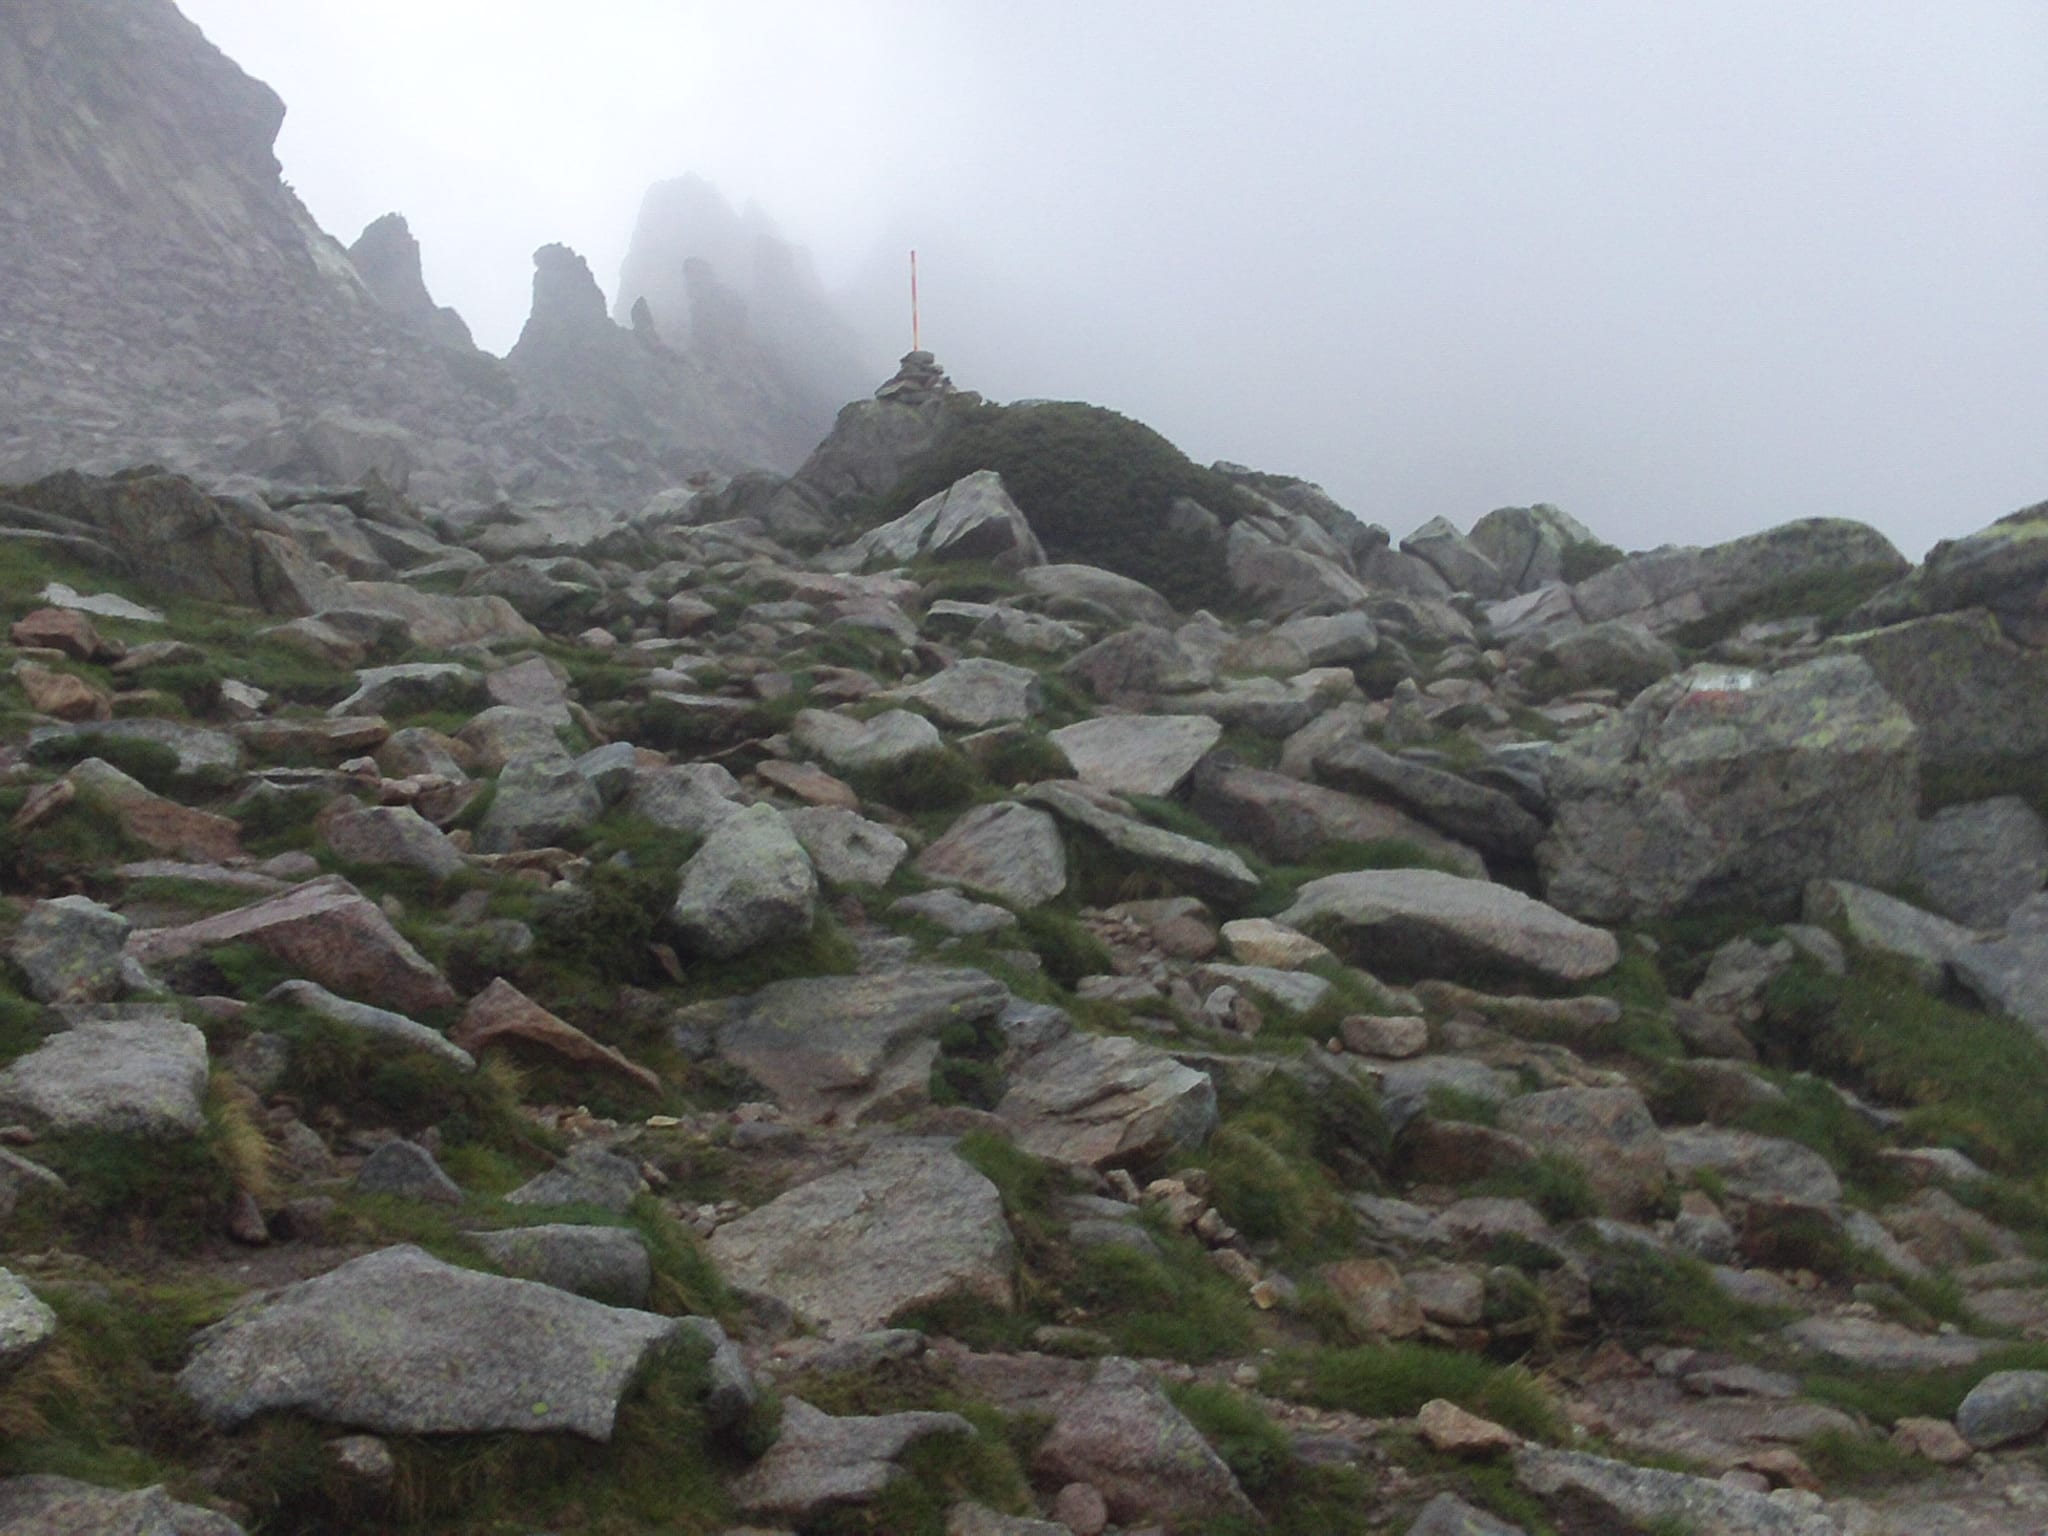
- Whoever decided to call the GR20 a trail was badly mistaken. This is not a trail in the conventional sense. It is perhaps more accurately described as a route. For quite a few sections along the route, what passes for a trail is actually a line of route markers painted onto rocks across a large scree slope filled with boulder-sized bits of rock. Where most other hiking trails ascend by zig-zagging, the GR20 goes directly up, preferably over bare rock.

Do you call this a trail?
- You scramble for a good deal of the way. On some stretches you use your hands almost as much as your legs. Okay, I exaggerate a bit, but the point here is that when the map shows an ascent, you are very often working your way up steeply-sloped chimneys of rock. When it shows a contour line, you might expect a nice flat stroll along the contour, but there are very few flat parts of the GR20 – a section of the map that seems flat is just filled with ups and downs that are too small to cross contour lines.
- Every day starts or ends with a big ascent (800-1000m) or similar descent, often both. See above what that means
- The weather can be challenging. We hiked in the second week of July 2013 after an unusually long and cold winter. That meant we were going from boiling heat in the sun, 33 degrees C or so (92 f) onto traverses where we were crossing thick snow. It got very rainy with big thunder and lightening storms on most days. Sometimes the rain was just over the hill in the next valley and we could avoid it, at other times we were drenched by it and crossing steep rock in the pouring rain. We had great weather in the cirque de la solitude but I can imagine it would be nasty in the wet.
So much for mid-summer. The GR20 in July 2013

How fit must you be for the GR20?
This is the million dollar question. I was pretty much normal hiking-fit. In preparation for the GR20 I ran about 5km about 3 days a week and did a few training hikes in England and did push-ups and squats (about 30 of each every day). This was fit enough to finish, but I wish I was a lot fitter as I was slow on the hills and ran out of breath on the big uphills. I should have been in my usual mountaineering fitness state of preparation (running at least 10km and doing lots of hillwork) as I really wanted extra aerobic capacity for this trip. That said I saw lots of less fit people managing, and some much fitter people easily doubling up on stages. At the end of the day you need a basic level of fitness to do the trail and after that the fitter you are the more you enjoy it.
How tough was navigation on the GR20?
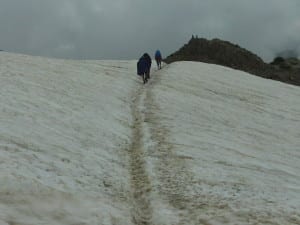
I carried maps and a Garmin GPS device (the GPSMap 62). In truth I didn’t really need much of either. The route is really well marked. If you haven’t seen the painted route markings for a little while then you have gone off the trail. They really are every 20-30 meters along the trail. I only made two wrong turns, once in fog and in deep conversation with a friend, we blundered off the trail on a traverse along a ridge and lost some height. It took a few minutes to climb back up to the proper path. A second time we followed some old markings for the trail, which had been moved (this was around the Col de Vergio) and soon linked up with the proper trail. That said, I always make sure I have a proper map and compass and know where I am in the hills so take both and make sure you know where you are at all times. But don’t listen to any of the guff that says the path isn’t well marked. There were even additional flags and markers out on the trail in bits that might have been covered by ice and snow (see picture)
An extra route marker on the GR20 makes it easy to follow, even in snow.
How hard is the scrambling on the GR20?
A lot of people get really nervous about the Cirque de la Solitude. In fact this stretch is really inspiring and beautiful. It is a fair bit of going up and down and you need to use your hands a legs quite a bit, but in good weather the chains and ladder are not difficult at all. It is also not terrifying in that you don’t have this horrible sense of exposure of being on top of a very high drop. It can be a bit hairy in bits, but unless you are petrified of heights there is no reason why you can’t do this. I’ve got another post on doing the cirque with video showing the steeper bits and chains posted here.
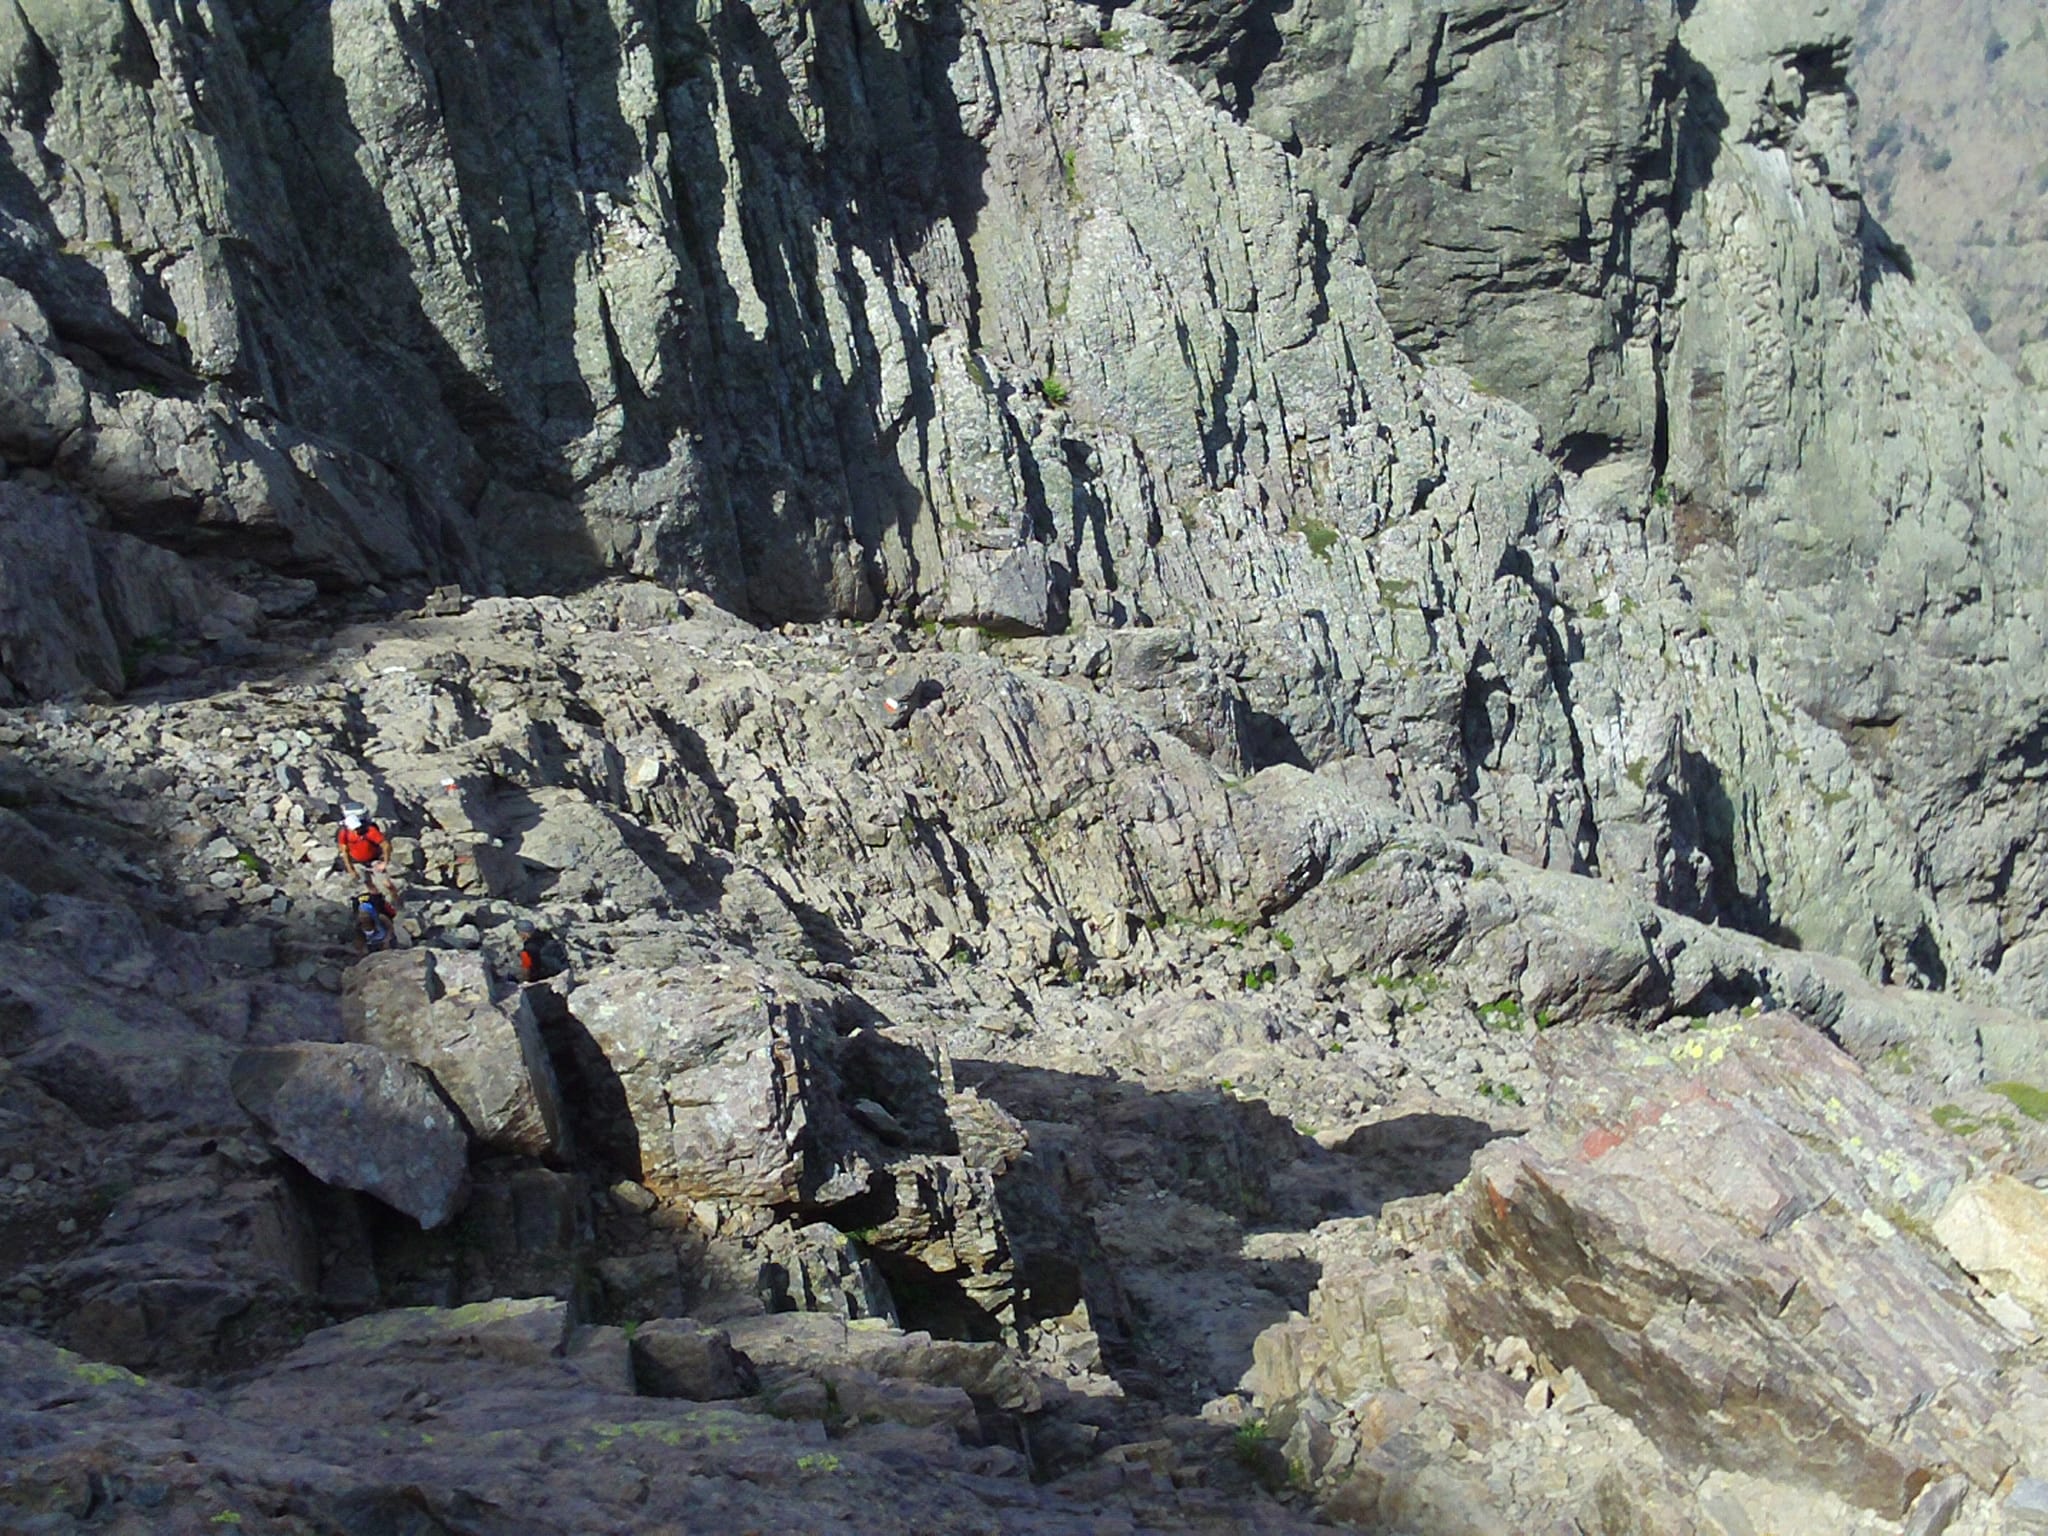
A steep section of the GR20
What about buying food on the GR20?
There are more or less two ways to hike the GR20 (and any number of combinations of these two) and that is to get all of your food cooked for you along the way or to carry it yourself and cook it as you go. There is also opportunity for replenishing along the way as most refuges have little shops that sell a reasonable quantity of basic foodstuffs. The prices are not very competitive, but that is because the food gets brought in on pack-horse or in some cases by helicopter.
In all of the refuges we saw there were cooking facilities with gas stoves and pots. That said, it would make sense to take a small and light stove as a backup. Most people use one of two options. The first is to get a Campingaz stove. These use blue canisters in which the stove pierces that gas bottle. They are pretty efficient and small, though not as light as the more modern screw-type stoves (such as the MSR Pocket Rocket) but you are more likely to get fuel for them. Best stock up in the big cities such as Calvi or Calenzana on your way up to the GR20 itself. A few of the refuges also seem to stock them. Another option is a small alcohol burner such as a Trangia stove or something even lighter. You can usually get fuel (Alcool à Bruler) in the major supermarkets in the bigger towns.
Here are some examples of the prices of food and meals at some of the refuges along the way.
For instance in the Refuge de Manganu I saw that you could buy sausage, pate, tuna, bread, spaghetti and snacks for prices ranging from about 2.5 euros to 8 euros (see the photos below).
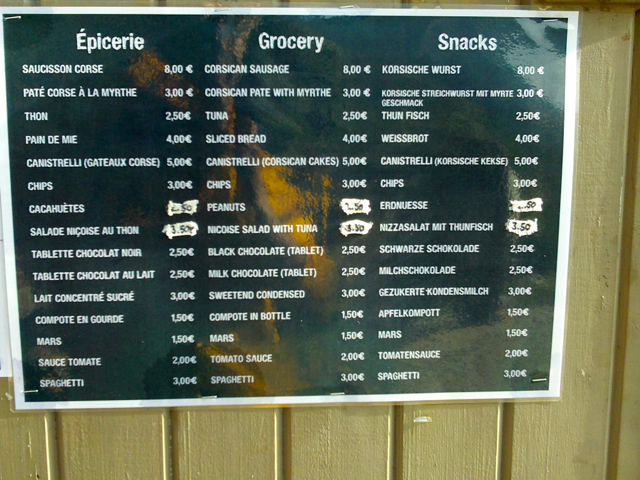
And example of the groceries available at Manganu. (correct in July 2013)
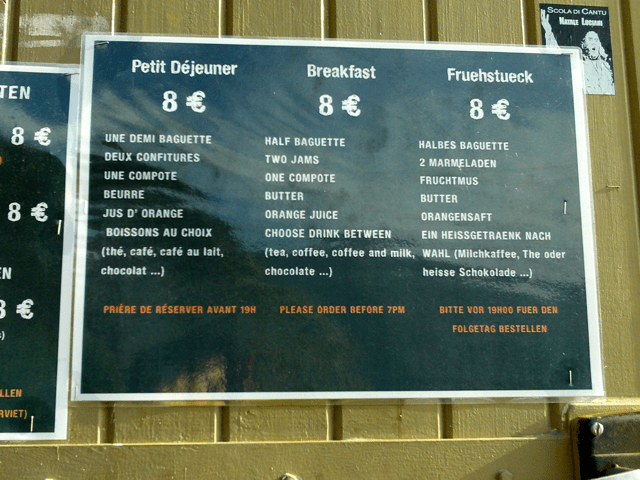
An example of the price of breakfast at Manganu refuge.
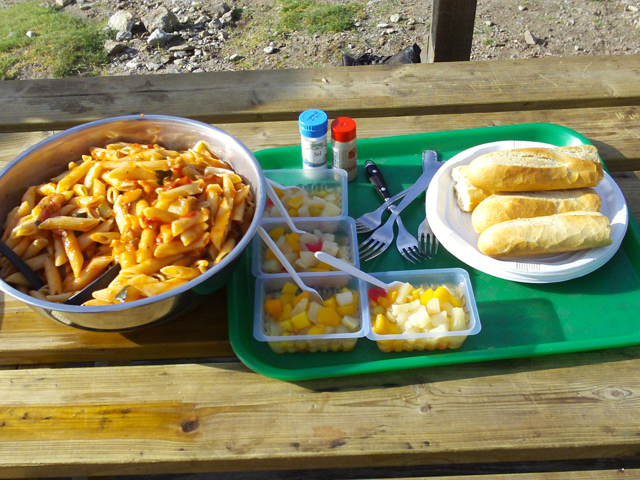
A delicious and high-carb supper at the refuge in Manganu
What boots are best for the GR20
Hiking boots are always a personal choice. I saw people running the trail in very light trail shoes and I saw people using heavy mountaineering boots. You partly have to choose something that you are comfortable with. I used to suggest people use boots with good support, but these days I go for quite light boots myself. That said I’m pleased I wasn’t in light trail or approach shoes.
The most important attribute is a good tread. I personally like boots with Vibram soles but there are other good makes out there. You want a deep tread and something that will help stick to slippery rock, especially when wet.
Also make sure that your boots are sturdy. One guy in our group had a pair of boots that were great 10 years ago but that didn’t survive the trail (see picture).
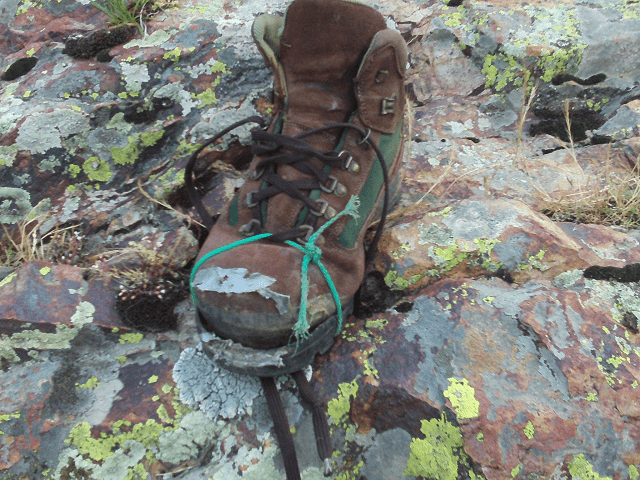
Boots that did not survive the GR20. Make sure yours are not so old the stitching has rotted (or the glue has lost its adhesion).
Foot care
Another important thing to remember is to wear two pairs of socks (a thin liner and a thicker cushioning sock) as this reduces blisters (something else my friend suffered badly from). Be sure to take some blister plasters too.
It is best to prevent blisters as they are much harder to deal with once the skin is already hot and forming a water-filled sack. Make sure your boots fit and your feet are used to them. Do a few long hikes in your boots to harden your feet up before you start.
On the trail it is important to wash your feet at the end of the day, and to dry them properly. Also wash your liner socks and dry them. It is useful to have spares of these so you can wear one set during the day while drying the second set that you washed the previous night. If you have blisters you can try the Compeed gel plasters that protect. They are really soft and comfortable but I find they usually get rubbed off by my boots while walking. Another option is to tape your feet, either using zinc oxide or duct tape. If you think you will get blisters then tape your feet before they form (do it at the first sign of a hot-spot) as once the skin is broken the tape will stick to raw flesh and be painful and unhygienic.
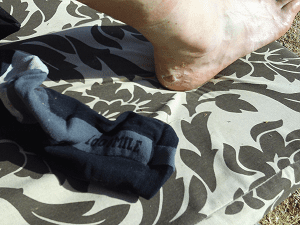
These are very sore feet.
Any other questions?
I loved hiking the GR20 and want to help others to do the same. To do that I would like to keep adding information to this page so if you have any specific questions please pop a question into the comments below and I promise to try to get an answer as soon as possible. Don’t forget there are also some other great resources out there including the fantastic GR20 forums on Corsica for Hikers and also the great and useful website run by Michele (who is also a moderator on the forums and knows loads about the Gr20)